The Baking Pan Guide: Which Pan for Which Bake

The right pan won't make a recipe, but the wrong one can quietly undo it. Cookies that spread into each other, a loaf that's raw in the middle, roasted vegetables that steam instead of brown: often the culprit isn't the recipe at all.
Here's a practical guide to which pan to use for what, and how to adjust when your pan isn't the one the recipe had in mind.
The quick guide
| Pan | Best for | Good to know |
|---|---|---|
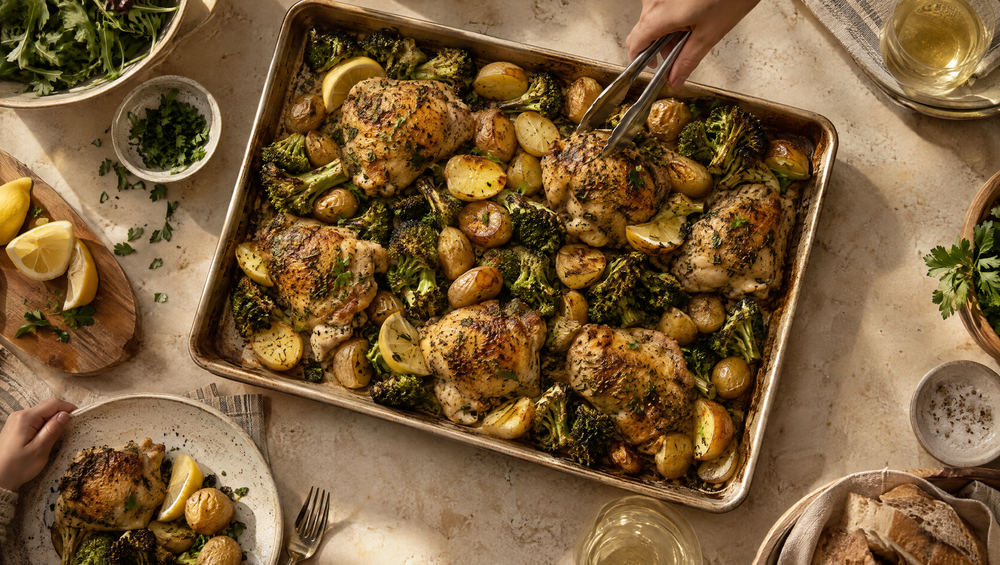
| Baking sheet (rimmed) | Roasted vegetables, sheet-pan dinners, granola, sheet cakes | The raised edge keeps juices and loose items on the pan. |
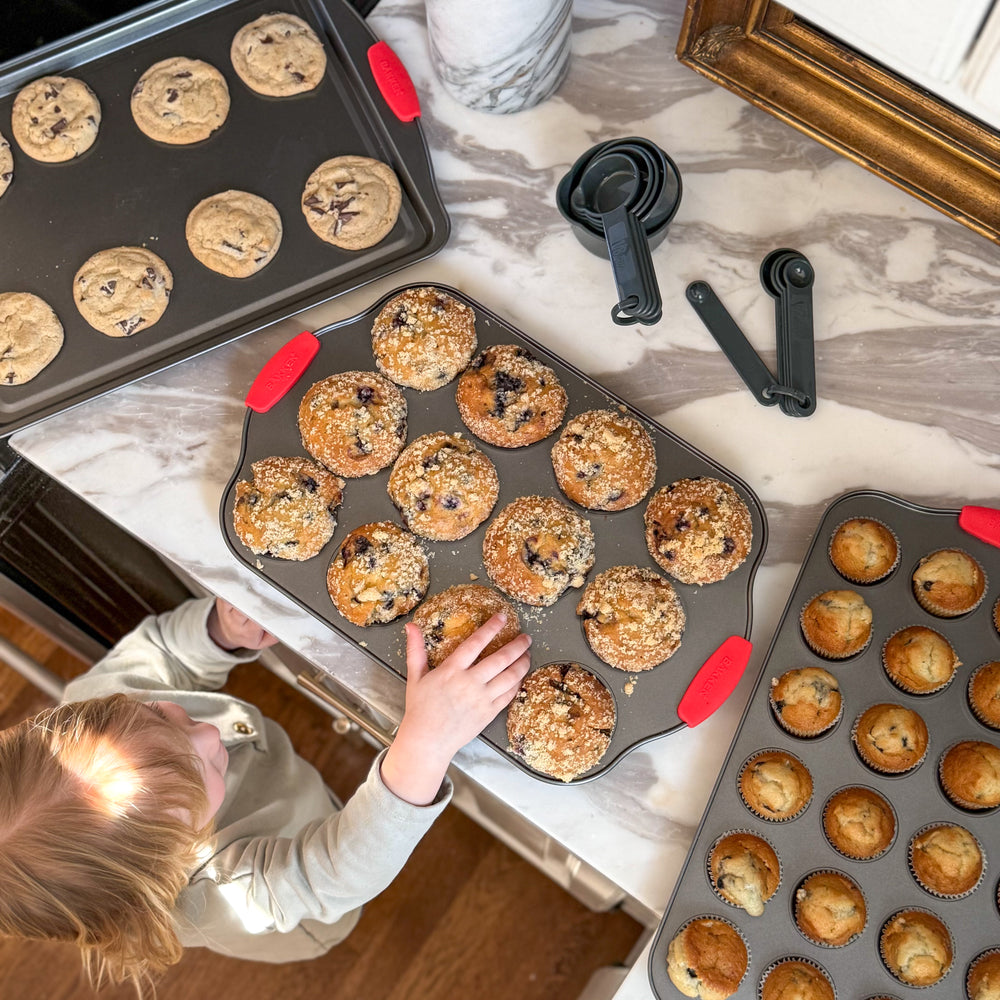
| Cookie sheet | Cookies, biscuits, scones, toasting nuts | Shallow or open edges make it easy to slide baked goods off. |
| Loaf pan | Quick breads, sandwich loaves, meatloaf, pound cake | Deep batters bake slowly; test the center, not the edges. |
| Square cake pan | Brownies, snack cakes, cornbread, bar cookies | Corners bake faster than the middle; rotate halfway. |
| Muffin pan | Muffins, cupcakes, egg bites, mini frittatas | Fill cups about two-thirds to three-quarters full. |
| Deep roasting pan | Whole chicken, roasts, large batches of vegetables, lasagna | High sides hold juices; use a rack to lift meat for even browning. |
| Perforated pizza pan | Homemade or frozen pizza, flatbreads | Holes let heat and steam move through for a crisper bottom crust. |
| Cooling rack | Cooling cookies and cakes; oven-roasting on top of a sheet | Air underneath stops baked goods from going soggy. |
A closer look at each pan
Baking sheets vs. cookie sheets
They look similar, but they do different jobs. A rimmed baking sheet is your everyday workhorse: anything with juices, oil or small pieces that could roll off belongs here. A cookie sheet is built for sliding. With little or no edge in the way, cookies come off cleanly and hot air reaches them evenly.
If you bake cookies on a rimmed sheet, that's fine. Just expect the ones nearest the edges to brown a bit more slowly.
Loaf pans
Banana bread and other quick breads are deep and dense, so they take a while. If the top is browning before the center is set, tent it loosely with foil for the last 15 to 20 minutes. A toothpick in the very center should come out with a few moist crumbs, not wet batter.
Square cake pans
Perfect for brownies and snack cakes. Size matters here: a recipe written for an 8-inch pan will bake thicker and take longer in a smaller pan, and thinner and faster in a larger one. Start checking early if you're switching.
Muffin pans
Beyond muffins, these are great for portion-controlled breakfasts. Whisk eggs with chopped vegetables, pour into the cups and bake for grab-and-go egg bites. If you only fill some cups, add a splash of water to the empty ones so the pan heats evenly.
Roasting pans
The deep sides are what make a roasting pan a roasting pan. They catch drippings for gravy and let you cook big batches without spills. For vegetables you want crisp, though, a rimmed sheet is better, since high sides trap steam.
Perforated pizza pans
The small holes help moisture escape from under the dough so the bottom crust crisps instead of going soft. Stretch your dough to fit, top it lightly, and bake on a middle or lower rack. Always stay within your pan's listed temperature limit.
Dark pans vs. light pans
Pan color affects how fast things brown. Darker pans absorb more of the oven's heat, so bottoms and edges brown faster. Lighter pans reflect more heat and bake a little more gently.
- In a dark pan (like black or brown finishes), King Arthur Baking suggests reducing the oven temperature by 25°F for very dark pans and starting to check 5 to 10 minutes early.
- In a light pan (like white marble or cream finishes), bake as written and watch for a golden bottom before you pull it.
- For delicate bakes like shortbread or sugar cookies, a lighter pan is the easier choice. For crusty bottoms on roasted potatoes or pizza, darker pans are your friend.
Other temperature adjustments
- Get an oven thermometer. Many home ovens run hotter or cooler than the dial says. A cheap thermometer tells you the truth.
- Mind convection. Fans speed up browning. Many recipes suggest lowering the temperature about 25°F on convection, but check your oven's manual for its own guidance.
- Use the middle rack for single pans, and rotate front to back halfway through.
- When baking two pans at once, swap their rack positions halfway through.
- Respect your pan's limit. Our nonstick carbon-steel bakeware is oven safe up to 450°F, which covers the vast majority of everyday baking and roasting.
Building a set that covers everything
You don't need a cabinet full of single-use pans. Two sheets, a pair of muffin pans, a loaf pan, a square pan, a roasting pan and a cooling rack will handle nearly anything a home baker throws at them. Add a pizza pan if Friday nights call for it, and you're set.
Choose pans you enjoy reaching for, learn how they bake, and adjust from there. That's really all there is to it.